Tips To Adjust For Light To Make Quick Setting Changes
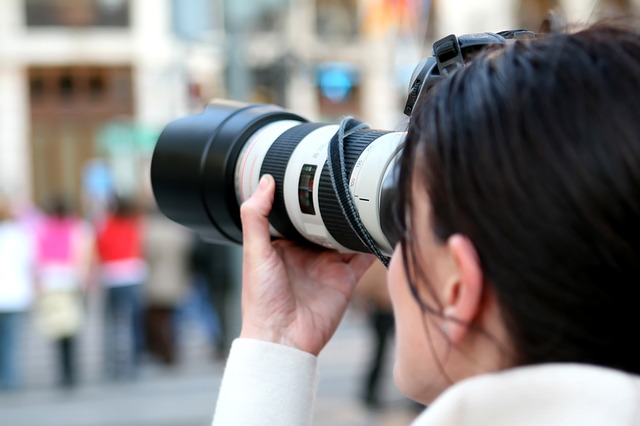
 One of the most challenging aspects of photography for beginners is knowing when to adjust for light. Not to mention that there will be times when you need to do a number of adjustment quickly without putting your gear down. This might seem like a hard thing to do especially for photography beginners but it is not impossible.
To be able to do this, you need to look at the things you need to focus on. You might already be shaking your head with the thought of making adjustments while keeping your sights on your subject. However, the more you practice, the better you will be able to do it. It may take a while but you need to remember that anything worth pursuing takes time and hard work.
What to look for when you adjust for light
One of the things you need to keep at top of mind when you want to adjust for light is being conscious about it. Light can change in an instant much like a dark room immediately brightens up when you open flip a switch. If you remember your grade school science teacher, they might have mentioned that light travels faster than sound. Here are a few of the things you need to be conscious about when it comes to light.
Moving from one location to another
When you are just starting out in photography, your focus could just be on the subject. You take a look at your surroundings and make the necessary adjustments and you start shooting. It might not be too noticeable, but when you move to a new location from the original one you might forget to change your settings.
You may ask your model to move a few steps here and there. As this happens, you might not realize that the light is different. Maybe it is a little brighter than your first location or darker because they are now in the shade. You need to be on top of the light you are working with, especially when you are relying on ambient light.
The time that has elapsed
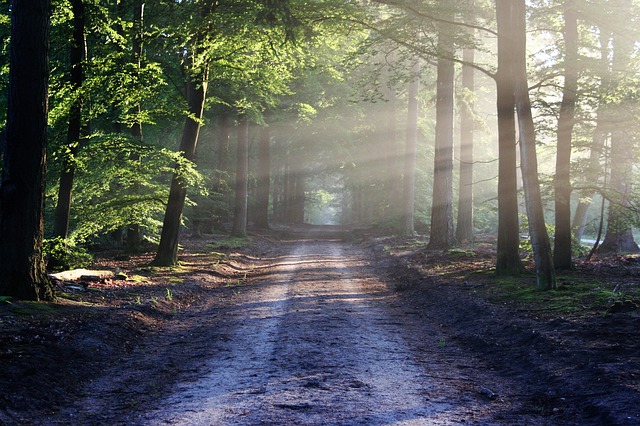
You also need to adjust for light when you have been shooting for quite some time outside. A change in the sun’s direction changes how the light casts over your subject. Once this happens, it can give you a different photo from the one you are trying to make. Be sure to stop every now and then and assess the light around you. Look at the shadows and where the light is coming from so you can use those to your advantage.
Use the exposure level indicator
Most DSLRs nowadays have an indicator in-camera that gives you an idea of how properly exposed your current settings are for the shot. It is a great tool to have which can assist you to ensure that get to adjust for light accordingly. However, you should not rely on this indicator all the time every time. It is best to check your images if you are unsure. There will be times when the camera’s computation could be off especially when you are dealing with extreme light.
What can you adjust
Now that you have an idea on some of the situations where you need to check your light, adjusting it is the next step. Here are three settings you can change to help you get the image you are looking for.
Shutter speed
As you have learned by now, your shutter speed allows you to either freeze or show motion in your images. To know how to use this to adjust for light, it is important to understand how shutter speed works. In a gist, this controls how fast or slow your camera shutter opens and closes to let light in. The faster it closes, the less light comes in just as the longer it is open, the more light can come in. Knowing this can help you control the amount of light that comes in.
Aperture
When you talk about light, you need to understand how aperture works when it comes to proper exposure. This feature basically controls how big or small the opening is, managing the amount of light that comes into contact with your camera’s sensor. The bigger the opening, the more light reaches your sensor. The smaller the aperture, the less light comes in. It could be a little confusing because when it comes to aperture, the smaller the number such as f/1.2, the bigger the opening. This also means that the bigger the number like f/22, the smaller the aperture opening will be.
ISO
This simply decides how sensitive your camera is with the light around you. The higher the number, the more sensitive it will be and the more light it brings in. You do need to remember that this can introduce unwanted noise in your images. The lower the ISO, the less sensitive it will be to light and the darker the images but you can walk away with a much cleaner photo.
But know what you need when you adjust for light
With these factors to consider, how then would you know which one to makes adjustments on? Here are a few of the questions you need to ask yourself to help you with this decision.
Do you need everything sharp?
This might sound bizarre, especially when you talk about photography, but this important when you talk about different types of photography and your approach. When you are covering for a sporting event, it would be nice to be able to stop and freeze the motion of the players. However, it is possible that your style of photography is to show motion in your images. The answer to this will dictate how high or low your shutter speed is. This will have a direct effect on the amount of light you have on your photo.
Do you need to play on your DOF?
Your Depth of Field, or DOF, will be affected by your aperture. The more you have in focus, the higher your aperture needs to be but you sacrifice the amount of light that comes in. On the other hand, if you are trying to concentrate focus on a small part of the image, you can lower down your aperture and have more light come in as well.
How do you feel about noise in your images?
This is where your ISO comes in and the ability it gives you to control sensitivity to light. You want to have a clean shot every time all the time. However, when you start to adjust for light, you might need to compromise a little to have a little more light into your photo. One thing to understand is the final output of your image. If you will not be blowing it up into giant billboards, you might be able to get away with a little noise in your images. There are also a lot of DSLRs nowadays that can handle high ISOs with minimal noise. This boils down to your comfort level and where you will use your photo.
Important takeaway
As you now try to make adjustments on the go, there are a few things to take away from this article. For one, you need to have a solid understanding of the exposure triangle to make it work to your favor. This is your shutter speed, aperture, and ISO. It is also crucial that you understand all the little knobs and wheels in your gear. This will allow you to make quick adjustments for light as you go along. You also need to train your eye to look for the light every time.
As you adjust for light, it is important to be conscious of it from your surroundings. The more you force yourself to look for and understand it, the more it will become second nature to you. Before you shoot, take a look at where the sun is or how it casts its rays and how intense the light is. This approach coupled with a firm understanding of photography basics as well as knowing your gear allows you to take better-exposed photos.
Next Article: Adobe Lightroom Struggles For Photography Beginners
Previous Article: Lightroom Versus Photoshop Discussion
List of All Articles
Leave a Reply